From Prototype to Mass Production: The Complete Plastic Injection Molding Process Explained
Introduction
Turning an idea into a mass-produced plastic product requires a structured manufacturing process. Many startups and product companies struggle when transitioning from prototype to mass production.
This guide explains the complete plastic injection molding process step by step.
Step 1: Product Design Evaluation
Engineers analyze:
-
Wall thickness
-
Draft angle
-
Structural strength
-
Manufacturability
Early optimization prevents later defects.
Step 2: DFM Analysis
DFM ensures the product can be manufactured efficiently while reducing tooling risks and costs.
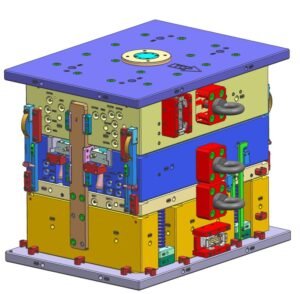
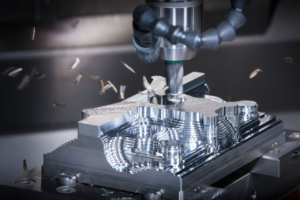
Step 3: Mold Design & Tooling
After design approval:
-
3D mold design is created
-
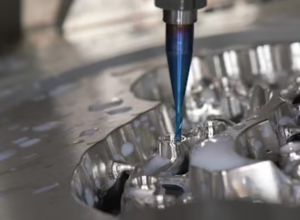
CNC machining begins
-
Mold components are assembled
-
Trial injection is performed
Step 4: Mold Testing (T1 Samples)
Manufacturers produce test samples to verify:
-
Dimensions
-
Appearance
-
Material performance
Adjustments are made before mass production.
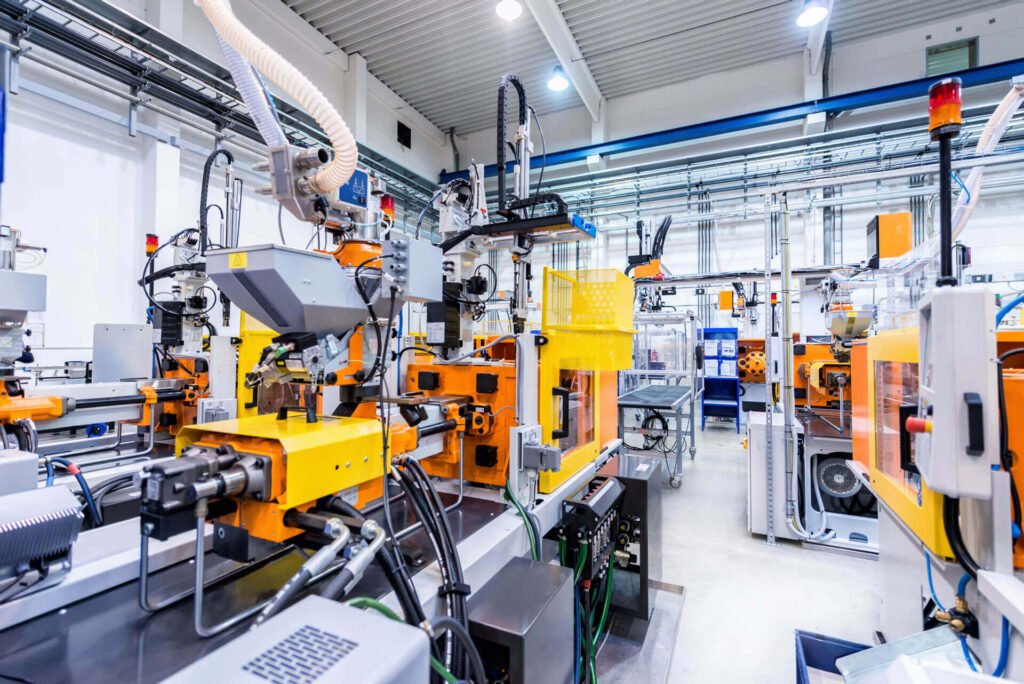
Step 5: Mass Production
Once approved:
-
Automated injection machines run continuously
-
Quality inspection ensures consistency
-
Parts are packaged and shipped globally
Why Work With an Experienced Injection Molding Factory?
Professional manufacturers shorten development cycles and ensure stable long-term production — especially important for overseas buyers managing supply chains remotely.

Conclusion
Understanding the full injection molding workflow helps businesses launch products faster and avoid manufacturing risks.